


Basic Training: How to Sight in a Thermal Scope

Sighting in a thermal scope comes in 6 easy steps:
- Set Up Shooting Area
- Activate Thermal Scope
- Inspect Reticle Alignment
- Fire Grouping of Shots
- Analyze and Adjust
- Repeat as Needed
When they’re properly sighted, thermal scopes make all the difference between a successful mission and a missed opportunity. We’ll review those steps in further detail below.
The Basics of Thermal Scopes
How do thermal scopes work? They detect heat signatures instead of light. That lets their users see clear images in darkness, fog, and even light vegetation.
Thermal scopes are unlike traditional optics. They require a unique sighting process that’s specifically tailored to their distinct capabilities. When you learn these devices’ nuances, you take the first step toward mastering the equipment.
A few key features of thermal scopes include:
- Heat detection that works regardless of ambient light.
- Digital calibration on most models requires software adjustments.
- Some magnification options allow digital zoom without compromising image quality.
Once you familiarize yourself with your scope’s specifications, you can proceed to sighting for best results.
Why Sighting Is of Utmost Importance
Why is sighting in your thermal scope so important? What happens if you skip this step?
Sighting basically aligns the thermal scope’s reticle with your projectile’s point of impact. An unsighted scope often leads to poor accuracy regardless of the firearm and ammunition quality.
With the sighting process, users help make sure their weapon performs consistently. This becomes especially critical in high-stakes scenarios like law enforcement and military operations.
Tools You’ll Need to Sight in a Thermal Scope
If you want your thermal scope sighting process to be smooth and effective, you’ll want to gather the proper tools before you get started. These include:
- A solid shooting platform like a bench rest or bipod provides stability.
- A heat-emitting target with thermal visibility like a hand warmer or specialized thermal targets is needed.
- A firearm with consistent ammunition helps because variations in ammunition can skew results.
- Rangefinders or distance markers help ensure accurate measurements of your shooting distance.
- With a notebook, you can record adjustments and observations for future reference.
How to Sight In a Thermal Scope
Are you ready to sight in your thermal scope? After you’ve gathered your supplies and prepared your firearm for shooting practice, you can sight it in by taking the following six steps.
1. Set Up Shooting Area
Your shooting area should be in a controlled environment like a gun range with minimal distractions. You’ll want to position your target at your desired zeroing distance. That’s typically between 50 and 100 yards for most applications. Regardless where you’re shooting, make sure you secure your firearm on a stable platform. That helps you reduce human error.
2. Activate Thermal Scope
Now you’re ready to turn on your thermal scope so it can calibrate. At this point you can adjust the brightness, contrast, and palette so you can optimize your view of the target. Your scope likely has different settings that work better depending on environmental conditions.
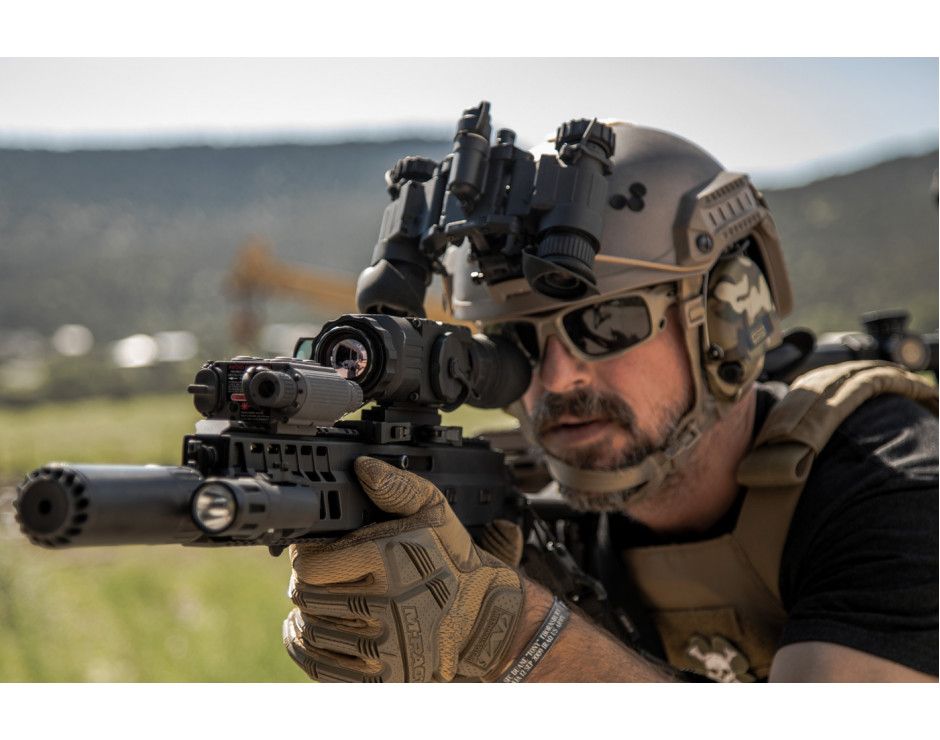
3. Inspect Reticle Alignment
Before you begin firing your weapon, check the reticle. It should appear centered on the heat source. Some thermal scopes feature preset calibration options for common distances. If yours has this option, use it as a starting point.
4. Fire Grouping of Shots
When you begin to shoot, fire between three and five rounds at the target. This lets you determine your point of impact. Remember, consistency is key. Always make sure your shooting position remains steady throughout the process.
5. Analyze and Adjust
Where did your shot hit the target? Take a look at where your rounds hit in relation to the reticle. Most thermal scopes feature turrets or digital controls for windage – left to right – and elevation – up and down – adjustments. To further sight in your thermal scope, shift the reticle toward the center of the groupings.
6. Repeat as Needed
Once you’ve made the necessary adjustments, you’re going to want to fire another grouping to confirm your accuracy. Continue repeating this process as you fine-tune your thermal sighting. Ultimately, you want your reticle and your point of impact to align perfectly.
Best Practices for Hunters
Thermal scopes have proven to be a game-changer for hunters – especially those engaged in coyote or hog hunting at night. These scopes’ precise sighting gives a much-needed boost to both ethical and efficient shooting.
If you’re using thermal scopes for hunting, remember to practice at different ranges since prey might appear at various distances. You’ll also want to account for environmental factors like wind, terrain, and temperature – all elements that can impact your accuracy.
Once you’re in the field, verify your zero by conducting a quick test shot before hunting.
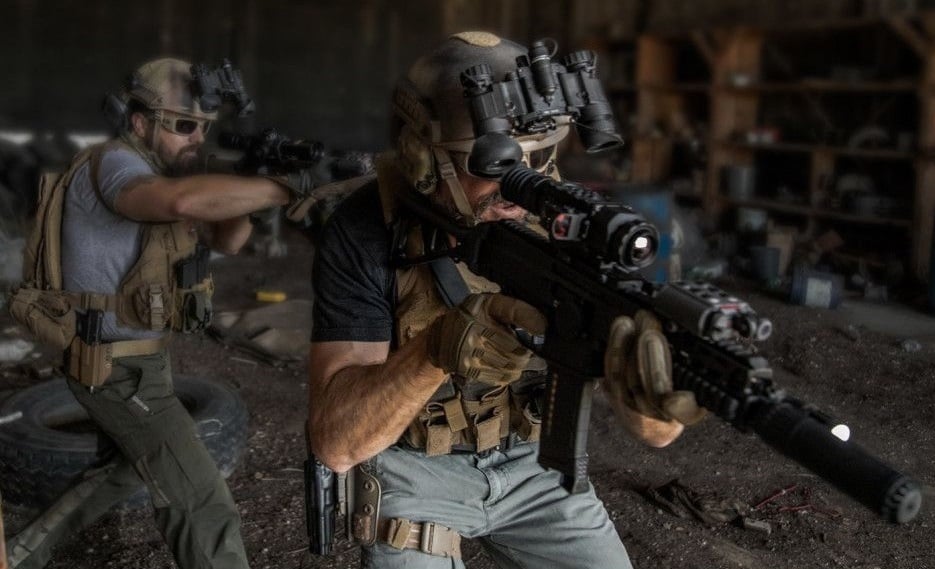
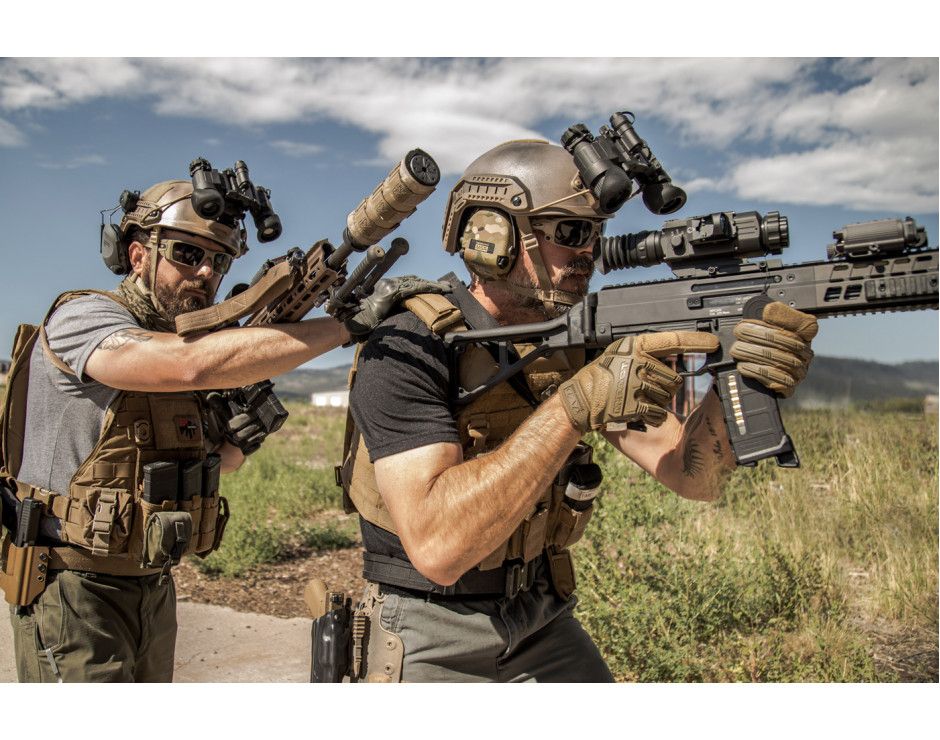
Tactical Use in Law Enforcement and Military
In tactical situations, sighting in a thermal scope can mean all the difference between a mission’s success or failure.
If you’re sighting in a thermal scope for use by military or law enforcement professionals, make sure you use calibrated targets. In fact, many agencies now use heat-emitting devices for training.
You’ll also want to incorporate movement drills into your sighting process. Make sure you sight in your device while simulating various dynamic scenarios. Consider making weapon-specific adjustments since different firearms often require unique calibration settings.
Troubleshooting Common Issues
Just as there are best practices for sighting in your thermal scope, there are challenges you might encounter. After all, thermal scopes – while advanced – are not immune to problems. Here’s how you can handle a few issues that arise.
If you see blurred images when looking through your thermal scope, you’ll want to adjust your focus and check the cleanliness of the lens.
For a misaligned reticle, try to recalibrate using the scope’s menu or even manual turrets. If you experience interference from other heat sources, try to position your targets away from other heat-emitting objects. These might include vehicles or equipment, for example.
Mastering How to Sight in a Thermal Scope
If you’ve made it this far, then you must be well-aware of all the possibilities that come along with thermal scopes. But the effectiveness of their advanced capabilities depends so much on the user’s proficiency.
Try and invest some time to better understand your equipment. You’ll find that the more you practice, the more you develop the kind of muscle memory you need for quick adjustments. You’ll also boost your ability to read the environment around you.
It really doesn’t matter if you’re out hunting under the stars or conducting some type of critical operation. You’ll be well on your way to success with a well-sighted thermal scope.
Indeed, mastering how to sight in a thermal scope will require patience, precision, and practice. But once you’ve got the process down pat, you’ll really see its optimal performance in all sorts of applications. That includes everything from recreational shooting to professional missions. With the right tools and techniques, as well as regular practice, you’ll be able to maximize your thermal scope’s true potential.
If you’re ready to take your gear to the next level, wander on over to Night Vision Guys and explore all the top-rated thermal scopes, as well as accessories for every need.
About the Author