Basic Training: How to Sight In Red Dot Sight for the Range

What’s a red dot sight? How does a red sight impact hunting, law enforcement, and recreational shooting?
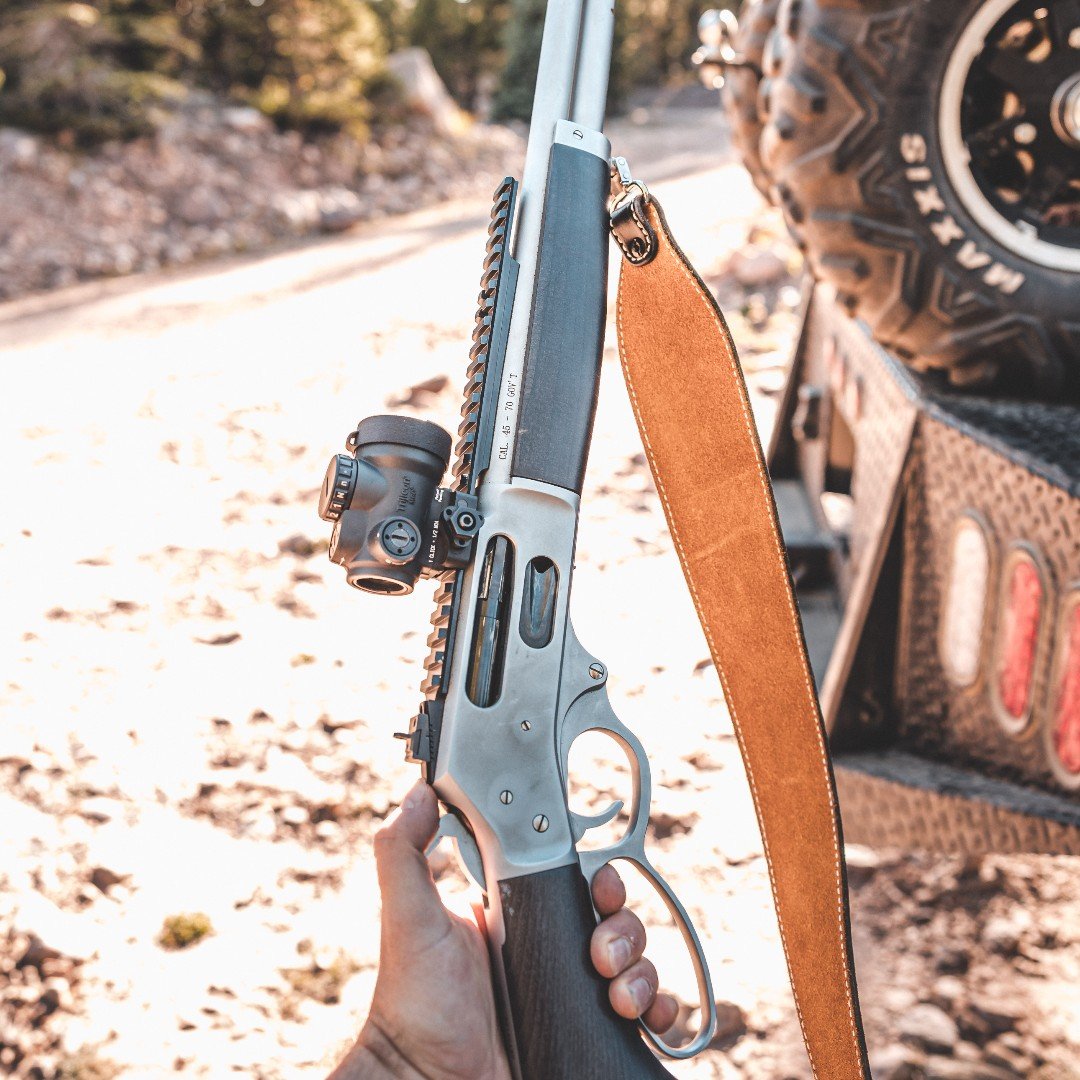
A red dot sight is a type of optical reflector sight with an illuminated reticle – typically a red dot – for rapid target acquisition without magnification. This type of sighting system enables users to aim quickly and accurately by simply aligning the red dot to the target in view, hence a favorite among hunters, military personnel, law enforcement, and recreational shooters.
The ease of use and the speed offered by red dot sights make them well-suited in dynamic situations where split-second decisions matter. Compared to traditional iron or magnified scopes, red dot sights offer the user a completely clear field of view without any magnification, so one can keep both eyes open while aiming.
A red dot sight has to be zeroed correctly. Zeroing is the process of making the reticle of the sight coincide with the bullet's actual point of impact, so the shot lands exactly where the user aims. This level of accuracy gives the user confidence, especially in high-stakes situations like those frequently found in law enforcement and military operations.
Continue reading for a detailed, step-by-step guide on how to sight in a red dot. We'll also go over the basic equipment you will need, troubleshoot common problems, and give methods for holding accuracy through changes in environment.
Our guide will assist users in getting the best possible alignment of the sight, which improves performance and shooting confidence.
Understanding the Basics of Sighting in a Red Dot Sight
To "zero" a red dot sight means aligning the reticle with the actual point of impact for the bullet on a target. When a sight is zeroed, wherever the dot appears on the target is where the bullet will hit, assuming shooting conditions and form remain consistent.
This will be critical for accuracy because the alignment ensures that each shot hits exactly where it is supposed to. Proper zeroing of a red dot sight, therefore, gives an assurance of reliable performance both at the range and in the field because it minimizes guesswork and helps users focus exclusively on their target.
Red dot sights are very different from most sighting systems, both in design and intended use. Unlike traditional iron sights, where alignment of the front and rear sights is required, red dots use a single reticle that speeds up target acquisition, mainly at close to mid-range distances.
Where telescopic sights offer magnification for long-range accuracy, red dot sights give an unobstructed clear view without magnification, making it ideal for quick reaction times in close quarters.
All these types of sights have their advantages, but red dot sights are designed simple and fast, which makes them popular for dynamic shooting situations.
Necessary Equipment and Setup
What do you need when sighting a red dot sight?
A red dot sight requires a few specific tools crucial for providing accurate alignment and stability throughout the process. Proper equipment generally enhances precision and saves time as well as ammunition.
These tools help steady the gun and most importantly align the sight to the barrel. That allows fine adjustments of the sight’s position. Each has a unique purpose for a well-zeroed sight, which is ready to perform reliably.
Proper equipment isn't just about preparation. It allows a minimum margin of error in sighting. That way, the chances of hitting the right point of impact are greater. Each tool fulfills its role in supporting each step of the sighting process: securing the target, pre-aligning the site, and so on.
Having the following tools on hand before starting helps make sure your sighting experience is efficient, and adjustments can be made accurately without disruption:
- Target stand: Holds the target in place, ideally equipped with markers at varying distances to aid in incremental zeroing.
- Bore sighter: A laser or optical tool that aligns the sight with the bore, saving time and ammunition by providing a rough initial alignment.
- Allen wrench: Allows for adjustments to the mounting and reticle to ensure a secure fit.
- Shooting rest or sandbags: Stabilizes the firearm to reduce movement and enhance consistency while aiming.
- Ammunition: Use the type you plan to use most frequently, as different ammunition types can slightly alter the point of impact.
Selecting the correct range for zeroing is of equal importance. It should match the intended use of the firearm and the sight. Zeroing a handgun and close-range firearm at 25 or 50 yards gives, for all practical purposes, the best compromise of accuracy and usability.
For rifles, particularly those used for longer distances or hunting, a zeroing range of 100 yards is more typical, and it aligns with common shooting distances. Select an appropriate range to make sure your zero aligns with practical use. You’ll improve reliability and accuracy in real-world scenarios.
Step-by-Step Guide to Sighting in a Red Dot Sight
But how do you sight a firearm with a red dot sight, anyway? It’s easier than it may seem, for sure. Sighting in your gun with a red dot sight is actually rather basic, with only a few steps involved in the process.
1. Mount the Sight Properly
Firs thing’s first. Just like other types of sights, you need to mount your red dot sight properly. However, once the red dot sight is on straight and securely fastened, it cannot move around to cause much error.
How would you mount the red dot sight properly? Just use the rail or mounting provided, and ensure it's on straight and securely fastened. Then,align the site with the bore, thus ensuring that it is not tilted.
2. Begin with a Bore Sight
A bore sight will save you time and ammunition because it gives you an initial alignment of the red dot and the bore. It cuts down on how many live rounds you need to fire to zero your sight. If you’ve decided upon a laser bore sighter, place the bore sight into the muzzle. Then adjust the sight windage – or left to right – and the elevation – up and down movements. Your red dot should be roughly aligned with the laser dot on your target.
3. Adjusting Windage and Elevation
After using a bore sight to determine windage and elevation, it’s time to adjust these important measurements. Remember, the windage pertains to horizontal alignment adjustment of the reticle, while the elevation refers to the vertical alignment of it.
Next, fire a few test rounds from a rested position after adjusting the windage and elevation settings. You should be able to see how the impact the bullet makes relates to the placement of the red dot. From here, you will be able to make fine adjustments to the windage or elevation until the impact point aligns with the red dot at a distance you choose.
4. Test Fire and Re-adjust
Once you make the initial adjustments, test fire again to check the alignment of your sight. Assuming a good shooting stance, fire either a three- or five-shot group to stabilize the firearm. That gives you your average point of impact. If it’s still not aligned with the red dot, continue tweaking and testing in succession until it falls into alignment.
5. Confirm the Zero
Was the impact point centered and aligned with your red dot? Once you’ve confirmed the zero, fire a few more confirmation shots for good measure. Remember to fire from the approximate distance you will be shooting. That way, you can finalize your zero with the confidence that comes from reliable performance.
Tips for Fine-Tuning and Accuracy
Now that you've honed your basic techniques for sighting with a red dot sight, here's how you go about achieving extra fine-tuning and accuracy.
Account for Parallax
Parallax is a sort of optical effect when the reticle appears to shift as you look through them from different angles. Most high-quality red dot sights minimize parallax. Otherwise, users can keep their eyes centered in their sights and avoid minor misalignments.
Repeatability
Sighting in your firearm with a red dot sight doesn't do much good if you can't repeat the same shot over and over. Consistent shot groupings depend on using the same stance, same grip, and same aiming technique. A minor change in posture or a shift in hand positioning will affect the shot's accuracy.
Recoil Effect
How does the recoil impact your shooting accuracy? A recoil can cause sighting misalignment – especially with high-caliber firearms. Try checking your zero periodically if you’re firing a significant number of rounds in a single session, or if you’re using a more powerful firearm.
Troubleshooting Common Issues
Is your red dot sight ready for shooting? However prepared you may be, a few common problems may still occur. Thankfully, we've compiled some pieces of advice for troubleshooting.
Unsteady Groupings
Are you encountering unsteady groupings? The cause may be a bad grip, weak stance, or misaligned sight. If this is occurring for you, check your form again as you shoot, and make sure the sight is properly attached.
Windage and Elevation Adjustment Issues
Other issues that could arise include maladjustment in regards to windage and elevation. If the adjustment on your sight seems to catch or get stuck, you should look for hardware that has become loose. You also might want to have it professionally inspected. Or, you may also want to replace an older sight or a budget model with a more robust replacement.
Red Dot Brightness and Vision
You may have an issue with red dot brightness in various lighting schemes. If you find the visibility is suffering as a result, try adjusting the brightness to a comfortable level given the lighting conditions. Make attempts to balance too dim – and thus difficult to see – and too bright, creating a "bloom" or haloing effect around the red dot.
Sighting Techniques for Different Environments
Just because you properly sighted your red dot sight, that doesn’t mean you’re ready to shoot in every environment. Sighting techniques will vary depending on whether you are shooting indoors or outdoors, as well as whether you are shooting at a long distance or a shorter one, among other various environmental conditions.
Indoor vs. Outdoor Ranges
Most target shooters prefer indoor ranges since they have fixed lighting and wind control. These ranges are perfect for initial sightings.
Outdoor ranges, on the other hand, will require more changes based on the level of light, the wind, and temperature. All of these factors equally affect both bullet trajectory and dot visibility.
Long-Distance Shooting
If you need the precision at extended ranges that is required for long-distance shooting, you’ll want to zero your sight at greater distances. You might find that you achieve better accuracy at 100 yards, for instance. After all, longer distances require fine-tuning and consistent rechecks – especially with changes in the environment.
Variable Environmental Conditions
Environmental conditions such as wind, light and different landscapes may demand quick changes in sighting. Checking the sight alignment at intervals when moving across different terrains and weather conditions will allow for quick recalibration
Sight Your Red Dot Sight for Accuracy and Confidence
Are you better prepared now to sight your firearm's red dot sight? Have we thoroughly explained how to zero in a red dot sight?
With more regular practice with the red dot sight, you’re sure to improve both the skill in sighting and equipment performance.
Browse our top-of-the-line selection of red dot sight and accessories and take advantage of our consistent sales year-round.


